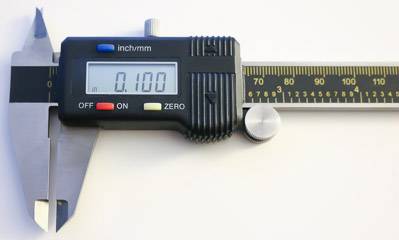
Absorbency is one of the most important aspects of a diaper, and we take a combination of 14 measurements and calculations to provide you with an accurate and reliable review. First, we start with measuring the total length of the absorbent padding, noting how far it runs up to both the front waistline and the back waistline. The closer the padding runs to the waistlines, the better job it does stopping leaks in those directions. Next, we measure the absorbent padding width in the front, middle, and back of each diaper as some manufacturers tailor the shape of the padding for a better fit. For example, most diapers have an hourglass shape, wide in the front, narrow in the middle, and wide in the back. Next, we look at the thickness of the diaper and weigh it before we conduct the absorbency tests. We do this so we can compare the dry weight to the wet weight to find out the absorbency performance of the diaper. This measurement is important as many companies advertise that Brand X is better because it can hold 15 times its weight versus the leading brand.
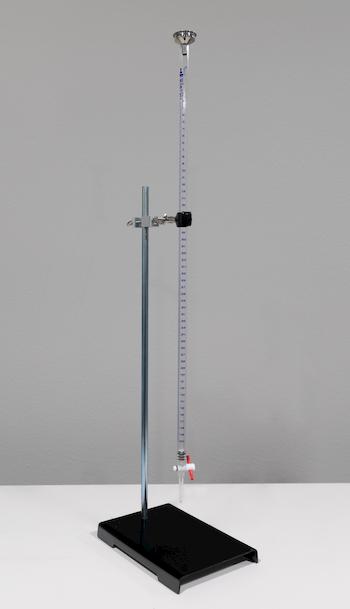
For absorbency testing, we use a 50ml calibrated burette. It has a near-constant rate of flow that simulates a baby urinating versus dumping a 50ml beaker of fluid across the top sheet all at once, as you see on TV commercials. For a size three diaper, we conduct two 50ml tests. We use a water solution that is warmed to body temperature and adjust the pH level to that of urine. We do this to test a drop in the pH level as some brands advertise that they have ingredients that neutralize pH levels. Lastly, the solution is dyed blue to make it easier to see when the moisture has been pulled below the top sheet of the diaper.
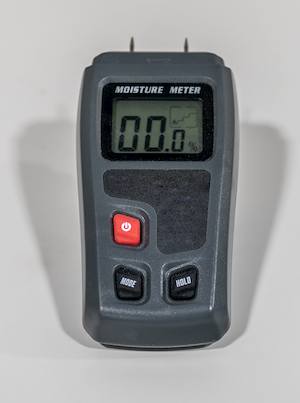
For the first test, we start a timer. At the same time, we begin to saturate a diaper using 50ml of solution and then time how long it takes to absorb the fluid below the absorbent top sheet. Then we measure how far the solution traveled up and down the diaper to see how well the diaper distributes moisture. Some brands have moisture-wicking channels that help rapidly distribute the moisture into the diaper and away from your baby's skin. During these measurements, we have continued running the timer. Once 90 seconds have elapsed, we conduct the next 50ml absorption test and measure how long it takes to absorb below the top sheet. Once the moisture has been pulled below the top sheet, we restart the timer and then measure the distance the moisture spread across the diaper and note the results for a second time. We wait an additional 120 seconds to give the diaper a chance to stabilize and lock in moisture away from the top sheet so we can get an accurate wetness reading. After the 120 seconds have elapsed, we find the wettest part of the top sheet using a moisture meter. This gives us a moisture reading in terms of a percentage that we then publish to the website to indicate how well the diaper stays dry after our absorbency tests.
Finally, we take a total absorbency under pressure measurement. We do this to measure the manufacturer's claims about absorbency versus dry weight. We start by completely saturating the absorbent padding until it either loses effective shape (no longer conforming to a baby's body) or leaks when a calibrated weight is set on it to simulate a baby's weight hence “under pressure”. Some high-capacity diapers are so absorbent that they begin to lose the ability to wrap around your baby's body and start to flatten out when excessively wet. When the fastening tabs on the diaper can no longer fasten themselves to the front landing zone, we consider the diaper to be at its max capacity even though it can still hold moisture, even under pressure. After we conduct this test, we publish the measurement as the “absorbency to dry ratio” just like some companies do.
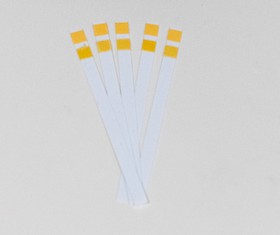
pH Level Testing
Next, we test for pH levels on the top sheet and make a note of whether or not the pH has been reduced. We also take measurements from the inside of the diaper by cutting it in half and then testing for reduced pH levels. To this date, we have not seen reduced pH levels after our tests. To combat high pH levels, manufacturers have relied on adding pH-reducing ingredients found in baby wipes. Even the most gentle baby wipes advertised today say they are 99% water with aloe and vitamin E. Aloe naturally has a low pH value, thus helping prevent diaper rash even in gentle baby wipes.